Difference between revisions of "Config SRS"
(Created page with "==How to configure== Ensure you are using the latest client File:srs_06.png Confirm your microphone and speakers are set to the correct devices File:srs_07.png...") |
(No difference)
|
Latest revision as of 06:08, 20 February 2020
Contents
How to configure
Ensure you are using the latest client
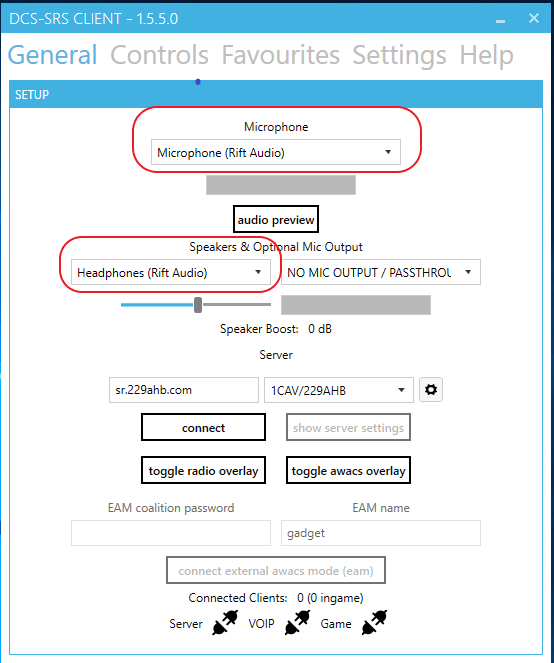
Confirm your microphone and speakers are set to the correct devices
Push-To-Talk
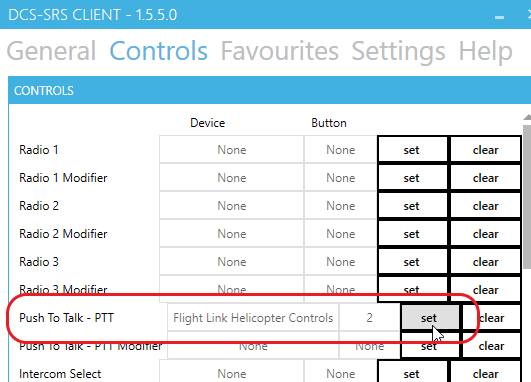
Select Controls from the menu list
Ensure the Push-To-Talk (PTT) button is mapped correctly
Add server favourite
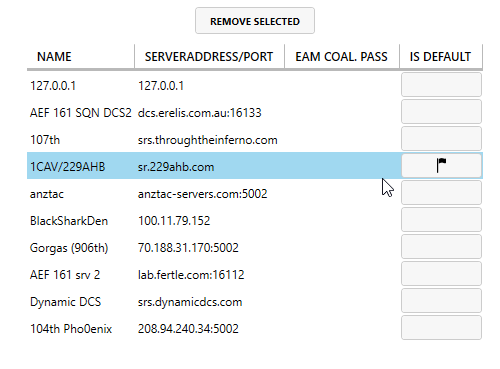
Select Favourites from the menu list
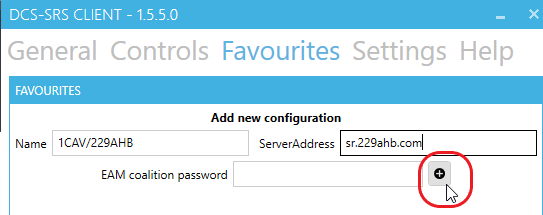
add the 1CAV/229AHB SRS node to the list of server favourites
Dont forget to click on the + button to add it into the list of SRS servers
The 1CAV/229AHB server should now be populated in the server list
Connect to server
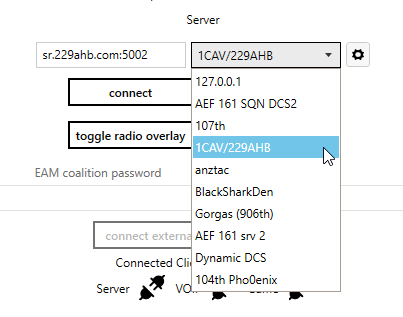
Returning to the General page, the 1CAV/229AHB SRS server, should now also appear in the server drop-down
Select the 1CAV/229AHB SRS server from the list
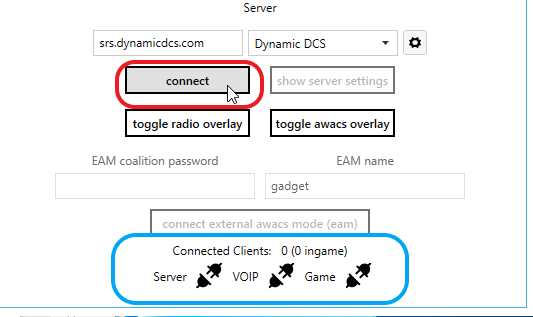
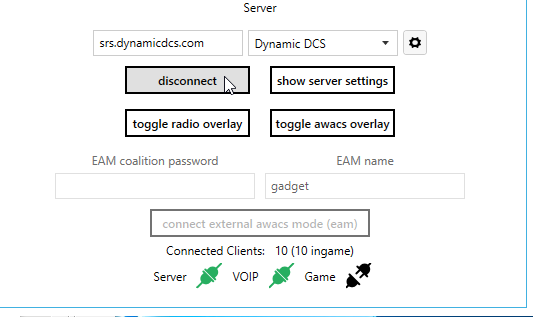
Note: Server and connection icons will be black and disconnected
Click on Connect to test the server link configuration
When connected, Server and connection icons will be green and connected *
Note: when you are connected and there may or may not be other clients connected, depending on time of day
(* in this instance I do no have DCS open, hence the game connection is still black)
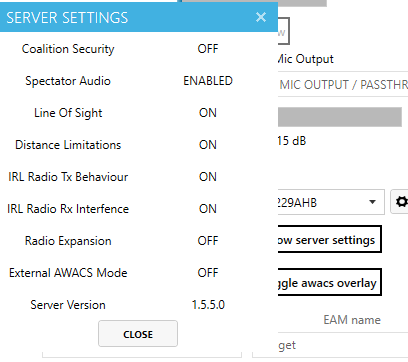
Server Settings
Click on Server Settings and verify all items
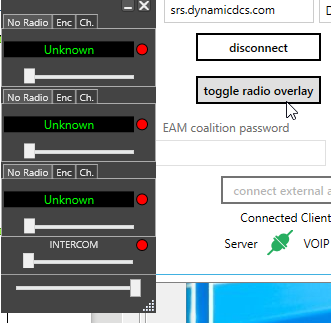
Toggle radio overlay
Click on the toggle radio overlay button to visualise the radios and frequency
Note: in this instance DCS is not running and I am not in an aircraft, no radios turned on
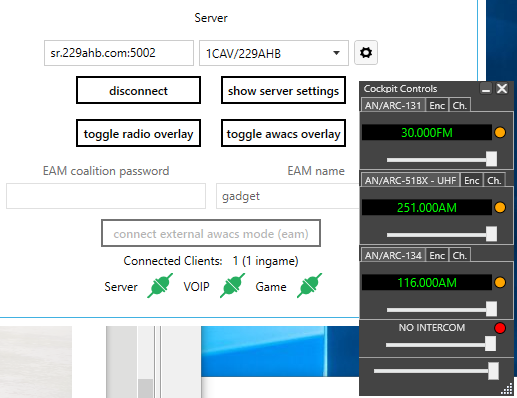
Once you start an aircraft in DCS and have all the radios turned ON and tuned to the appropriate frequencies you can no utilse them for all voice communications in multiplay missions
Here the overlay is displaying all active radios (by type) and the frequencies tuned
in 2D the active radio button will be Green and turn white when transmitting
Note: DCS is now running and 3rd connection icon is now green
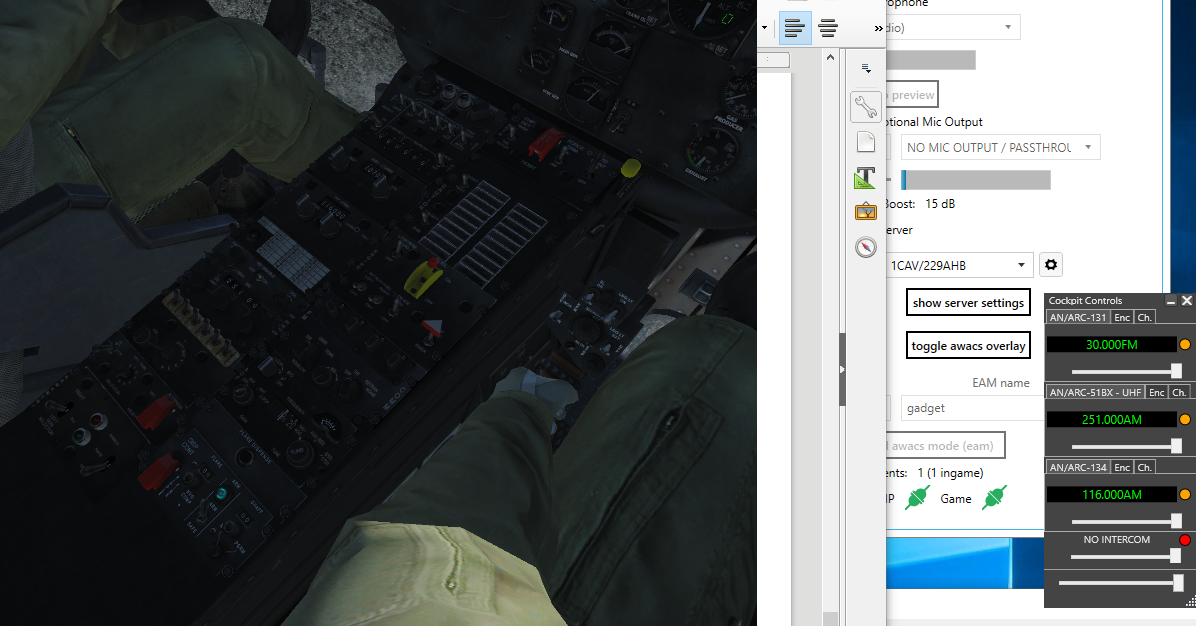
The in cockpit shot displays the radio pedestal panel of the UH-1H with all tuned frequencies, and the SRS client overlay matches all.
Note: Radios must be turned ON in the aircraft and tuned to the correct frequencies in order to speak to your team mates.
VR radio overlay
If you are using a VR headset, such as Rift or Vive, the radio overly toggle is achieved by utilising the following keystroke combination
L Ctrl + L Shift + Esc
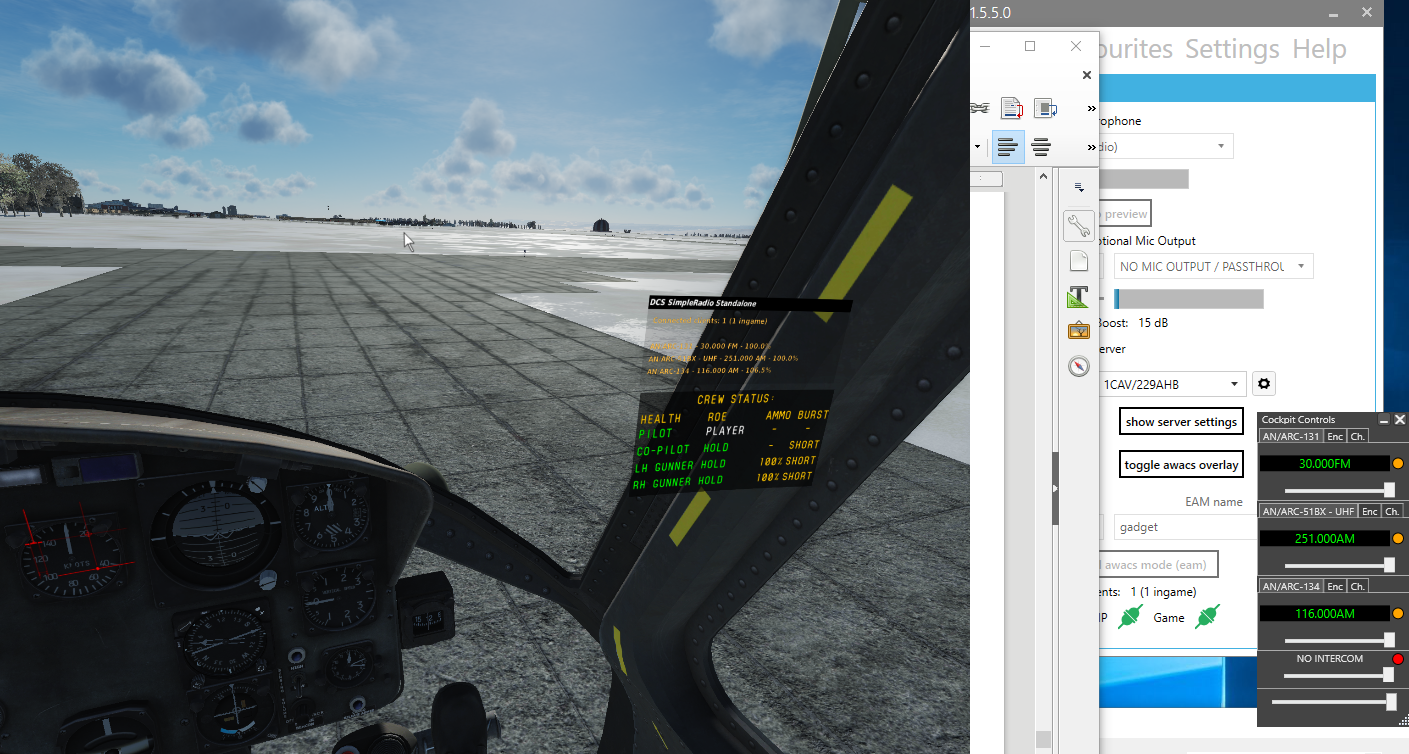
and can be seen here
In VR the selected (active) radio will display an * at the end of the text & TR will display when you transmit additionally when receiving, incoming traffic on the respective radio text will display in white.
Select Disconnect to sevre the connection to the simple radio server
It really is that easy
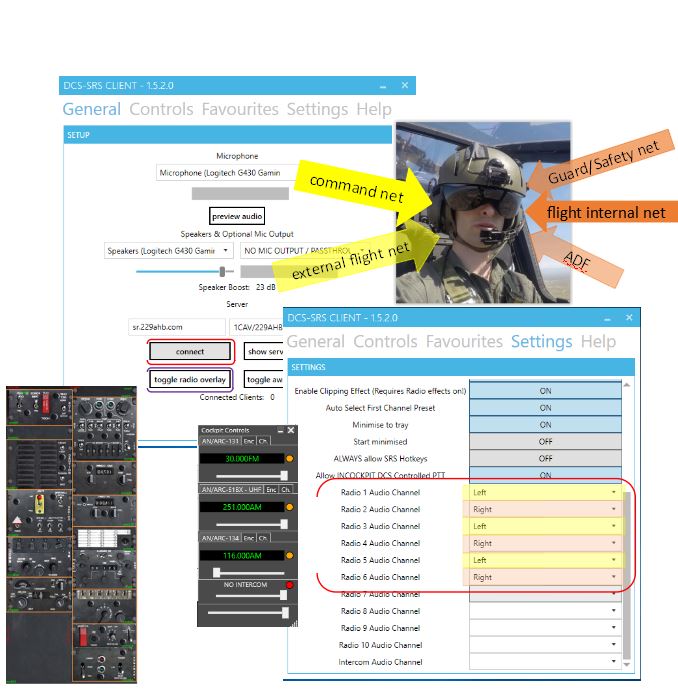
Audio out: selective net to sides
Additionally, you may prefer to configure the audi output for each radio to a specific ear piece in your headset;
e.g. so that your internal net is always in your left ear & the command net in the right.
go to Comms
back to Setup
